I’m Thomas, a passionate woodworker, and today, I’m thrilled to share some essential insights about maintaining the sharpness of your chisels, a crucial tool in your woodworking arsenal. Whether you’re sculpting wood or metal, a chisel is indispensable. But here’s the kicker: it’s the sharpness of the chisel that makes all the difference in ensuring safe and precise carvings.
With time, chisels can become dull, and often, it’s not so easy to notice this change. But fear not! I’ll guide you through various methods to test and ensure your chisel remains as sharp as it needs to be for your projects.
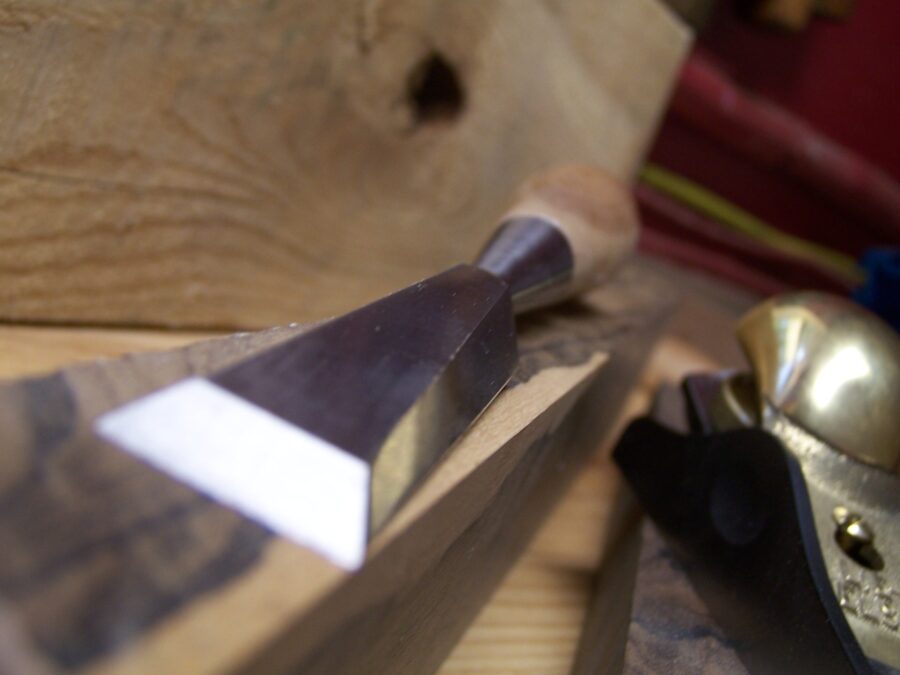
How to Test Your Chisel’s Sharpness
Wondering how to gauge the sharpness of your chisel? You can try out several techniques, or better yet, combine them for greater accuracy!
- Wood Ribbon Test – Try slicing a ribbon from a piece of wood. A sharp chisel will glide smoothly, creating a clean slice, while a dull one will struggle, compressing the wood instead.
- Hair Shaving Test – Carefully try shaving some hair from your arm. A dull chisel will barely touch the hairs, but a sharp one will easily remove them. Exercise caution with this method!
- Paper Slicing Test – Hold a piece of paper upright and slice through it. A jagged cut signifies a dull blade, while a sharp chisel will make a clean, effortless cut.
- Fingernail Test – Gently drag the chisel over your fingernail. If it’s sharp enough, it should easily produce shavings.
- Reflection Test – Under bright light, a sharp chisel won’t reflect light, while a dull one will.
Before Sharpening: Flattening the Back
Found your chisel to be dull? Before jumping into sharpening, an essential step is to flatten the back of your chisel, also known as lapping. This is crucial because the back serves as a guide for straight work. You’ll need to do this once for new chisels and then repeat it after each sharpening session.
Flattening Tools:
- Flat Stones or Sandpaper – Ensure they are completely flat for effective lapping.
Lapping Technique:
Place the chisel flat on your stone, fingers on top of the blade, avoiding the handle. Move it back and forth until you achieve a shiny and flat back.
Sharpening Angles and Tools
When sharpening, begin with a 25° bevel angle and finish with a 30° micro-bevel. Consistency in maintaining the angle is key. A honing guide can be incredibly helpful, especially for beginners, as it ensures a fixed angle for even sharpening strokes.
Sharpening Tools:
- Diamond Stone – Perfect for removing a lot of material but requires glass cleaner for lubrication.
- Water Stone – Ideal for honing; soak them until the water stops bubbling.
- Oil Stone – Produces very fine edges; suitable oil types include 3 in one oil, mineral oil, or honing oil.
Alternative Sharpening Methods
Apart from stones, you can also use sandpaper or invest in a sharpening system for a quicker and easier approach.
✨ Final Touches: Stropping and Oiling
After honing, it’s time to strop your chisel. This step refines the edge, making it even sharper and removing any wire edges. You can use a leather strop with buffing compound or make your own with sandpaper or plywood. Finally, apply multi-purpose oil to keep your chisel smooth, shiny, and protected from corrosion.
Sharpening Frequency
The frequency of sharpening depends on your usage and the type of woodworking. Some tasks may require you to strop every 10 minutes, while others might need sharpening every hour. You’ll develop a sense for when it’s needed over time.
⚡️ Sharpening Summary Table
| Aspect | Details |
|---|---|
| Testing Sharpness | Wood Ribbon, Hair Shaving, Paper Slicing, Fingernail, Reflection |
| Before Sharpening | Flatten the back (Lap) |
| Sharpening Angles | 25° Bevel, 30° Micro-Bevel |
| Sharpening Tools | Diamond Stone, Water Stone, Oil Stone |
| Alternative Methods | Sandpaper, Sharpening System |
| Final Touches | Stropping, Oiling |
| Frequency | Varies based on usage and woodworking type |